
You received a beautiful bouquet of flowers and are wondering how to arrange them in a vase? Do you want to cut flowers from your garden to put in a vase? Would you like to know some tips to keep your flowers fresh for as long as possible?
You’re in the right place.
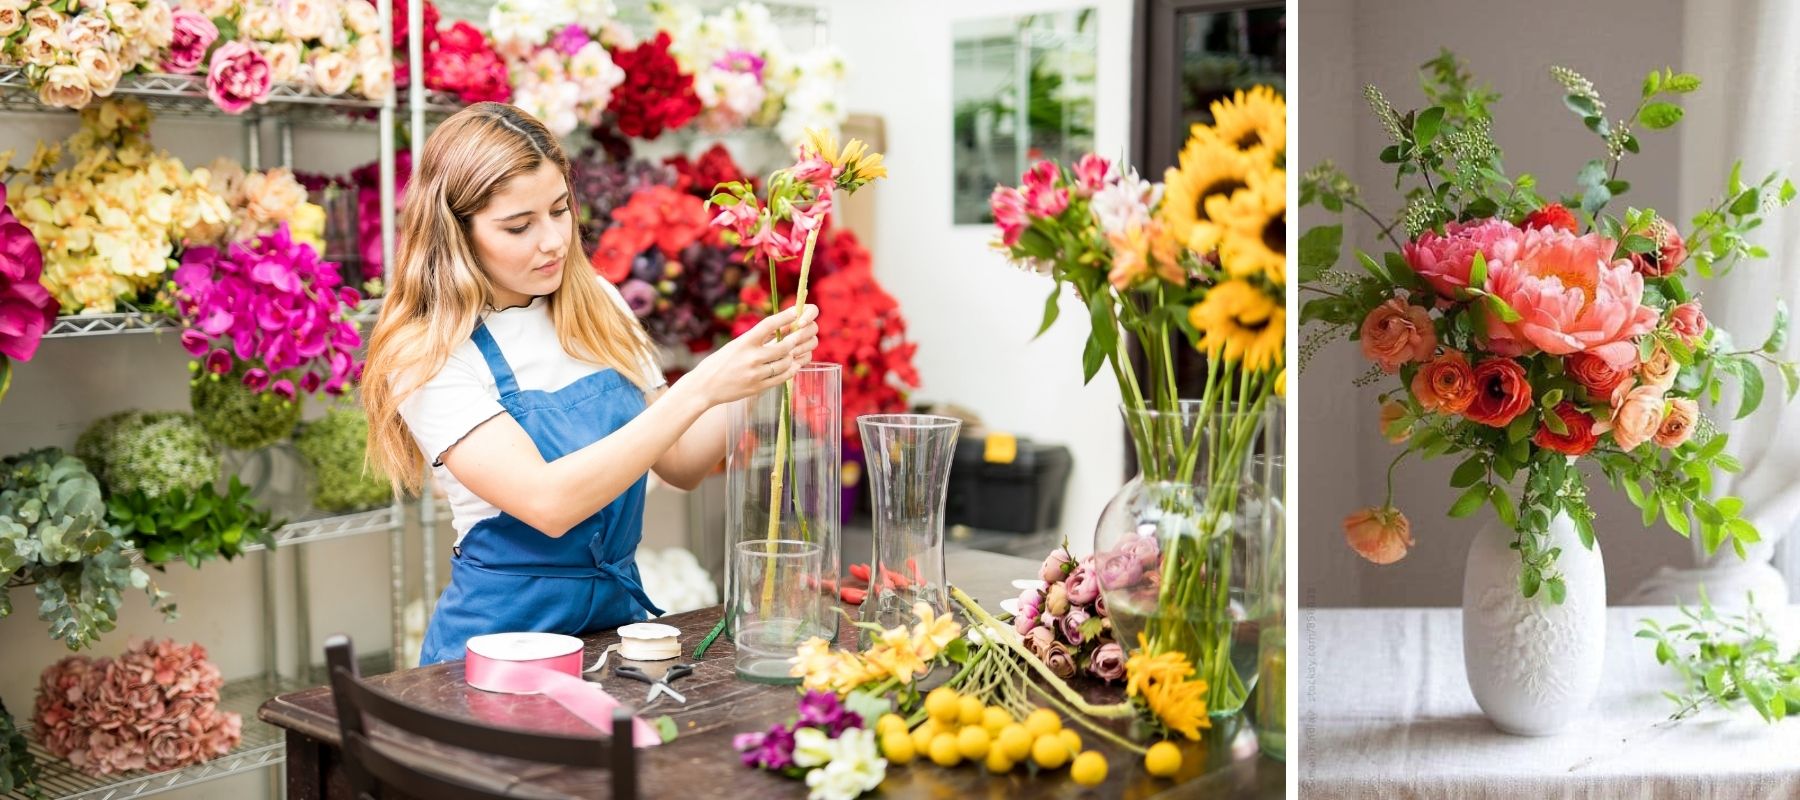
As a florist, I love sharing tips with my clients so they can enjoy the bouquets I’ve created for them for as long as possible.
Today, I’m sharing my expertise so you can arrange your flowers in a vase, whether it’s a store-bought bouquet or flowers you’ve cut yourself.
To create a beautiful bouquet, you can use the spiral technique: hold your flowers in one hand and add each stem with the bottom of the stem facing to the right. It’s important to alternate between flowers and greens. Before placing your flowers in a vase, trim the stems at an angle by about 2 inches, and remove any leaves that might be submerged in the water. Fill your vase with fresh water up to two-thirds full, and change the water every 48 hours to keep your bouquet looking great for longer!
Want to learn more? Keep reading to discover:
- What vase to choose based on the shape and style of the bouquet
- How to arrange it in the vase
- Pro techniques for creating a cut flower bouquet
- Tips for making it last longer

How to Arrange a Bouquet You’ve Received in a Vase?
You just received a bouquet and want to arrange it? Here are some tips to help you achieve a beautiful result.
Which vase should you choose based on the bouquet?
Before you begin, it’s important to choose the right vase. Although there are countless types of vases, not all of them are suitable for every bouquet. In the following lines, I’ll explain their specific features.
👉 No vase? No problem! A large jar, a pitcher, or any other container that is reasonably wide and deep will work! Just make sure to choose one that’s suitable with the tips that follow.
For a Round Bouquet
For this type of structured bouquet, where all the flowers are arranged in a half-sphere, it’s best to choose a round container that reflects this shape. A fishbowl, for example, is a perfect choice for this style of bouquet!

For a Tall, Loose Bouquet
If your bouquet is wild, fairly large, and has long stems, I recommend using a tall vase. The neck of the vase should be wide enough to accommodate at least one and a half times the width of the bouquet.
For Other Bouquets
Were you given a modern bouquet that can only be viewed from one side? An original and artistic arrangement? In that case, choose a vase that reflects the shape of the arrangement. If the bouquet is tall and slender, you might opt for a tall rectangular vase. If it consists of several small bouquets or single flowers, you can use soliflores!

How to Proceed?
Putting a bouquet in a vase is not complicated: just follow a few simple tips, and you’ll have it done in no time!
➡️ Remove the bouquet from its packaging. For now, keep the stems tied together.
➡️ Choose a clean, appropriately sized vase and fill it with fresh (not cold) water. Most flowers require the vase to be filled to about ⅔ full. However, some are a bit more particular:
✔️ Hydrangea, Snowball, Lilac: Vase filled to the brim
✔️ Bulb Plants (Lilies, Tulips, Amaryllis): No more than ⅓ of water
👉 Are you unsure or not familiar with these flowers? Fill your bouquet to ⅔ full as indicated: flowers are highly adaptable!

➡️ Trim the stems of your bouquet using pruning shears or a paring knife at an angle, cutting about 1 to 2 cm off the ends.
➡️ Try to place your bouquet in water. If any foliage is in contact with the water, take the bouquet out to remove it.
If you find that this arrangement, when secured, doesn’t spread out enough in the vase, you can choose to remove the tie while keeping the stems in place, and then place it back in the vase. It’s that simple!
How to Arrange Flowers in a Vase?
Have you cut flowers from your garden and would like to create a beautiful bouquet to display in a vase? Here’s a technique that will work even if you received cut flowers that aren’t arranged in a bouquet!
🌿 While it’s certainly possible to create a bouquet using only flowers, if you can get some foliage, it will help you achieve a more beautiful and polished result.
✔️ Most trees and shrubs with evergreen foliage (Strawberry Tree, Mastic Tree, Fir, Eucalyptus, Laurel, Ivy…) can be used for this purpose.
✔️ For hardwoods, you can use Oak or Alder, as they hold up especially well in water.
Let’s dive in and see how to proceed without further delay!
Step 1: Clean Your Flowers and Arrange Them on the Table
To start, you’ll need a clean, free, and spacious area on your table or workspace.
The first thing to do is to remove the foliage from the bottom two-thirds of your stems. The goal, as mentioned earlier, is to ensure that no leaves are in contact with the water, as this accelerates the growth of bacteria.
By doing this, you can sort your plants by variety: this will help you create a balanced bouquet, with an even distribution of flowers.
Step 2: Prepare Your Vase
Wash a vase suitable for the bouquet you want to create, fill it with fresh water until it’s about two-thirds full. Place it on your work surface so it won’t tip over, but is still accessible: indeed, once you have your bouquet in hand, you may not be able to move it anymore.

Step 2: Create Your Flower Bouquet
For this crucial moment, you have two options:
🔸 You can choose to do this instinctively by placing each plant in the water one after the other. You will typically end up with a rather rustic and somewhat soft bouquet. This technique works well if your vase is not transparent, as your stems won’t be visible. If they are disorganized, they might look a bit unattractive.
✔️ If you have a clear vase and still want to go this route, you can hide the stems with one or more large, thick leaves. However, this will require more maintenance, as you’ll need to change the water every 24 hours and replace the leaves every 48 hours.
🔸 You can also try the twisting technique, used by florists, to create a round bouquet that is well-balanced and stable.
This video created by a Master Artisan Florist shows you, step by step, how to do the following:
Here’s the main point to remember:
- Always keep your bouquet in hand, on the left if you are right-handed and on the right if you are left-handed. Hold it firmly without squeezing the stems too tightly.
- Add the plants one by one, alternating between flowers 🌹 and foliage 🌿. Ideally, place the flowers higher than the leaves to showcase them.
- If you’re right-handed, angle the flowers so that the flower heads are on the left and the bottom of the stems are on the right side of the bouquet. Left-handed individuals should do the opposite.
- Rotate your bouquet as you add more flowers.
- Make sure to step back and check your bouquet frequently to ensure it’s well-balanced.
Step 3: Cut the Stems and Place in Water
Once your bouquet is put together, trim the stems as mentioned at the beginning of this article, making sure they are all at the same length. If needed, untie your arrangement, and then place your creation in a vase, being careful to keep the stems arranged in a spiral. The result is usually very beautiful in a clear vase!

How to Make Your Flower Bouquet Last Longer
To wrap up, here are a few tips to help you enjoy your bouquet of flowers for a long time:
- Put your bouquet in a cool place, out of direct sunlight and away from any heat sources
- Change the water every 48 hours
- Trim the ends of the stems about every other time (especially if you notice they have turned brown)
Now you know everything there is to know about caring for your bouquets and even how to create beautiful floral designs yourself. Want to enjoy fresh flowers year-round without any maintenance? I invite you to discover our preserved roses under a glass dome! These gorgeous stabilized flowers last for years without losing their vibrancy and are sure to impress your loved ones!
