Would you like to create your own bridal bouquet? Has a friend or family member asked you to make their bridal bouquet? Are you searching for practical tips to take on this challenge successfully?
I will help you.
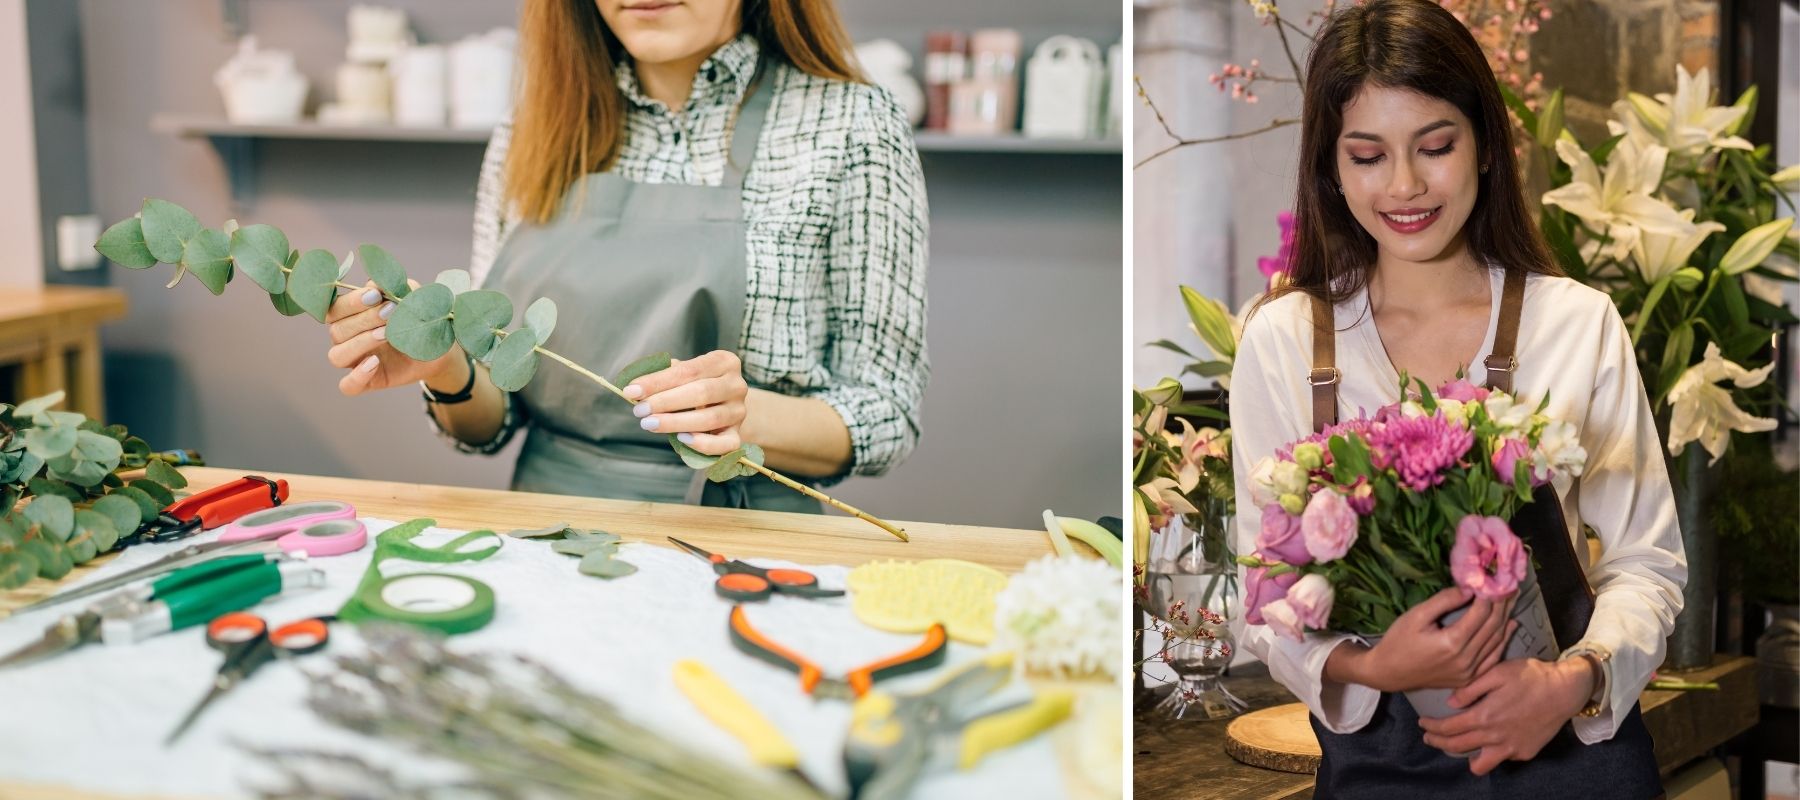
As a florist specializing in weddings, creating the bridal bouquet is a crucial part of my job. It is also the starting point for all other floral arrangements, which must complement it.
Today, I’m offering you a complete tutorial that will help you easily make a bridal bouquet. You’ll discover some professional tips to simplify the process and successfully create a stunning bouquet.
A round bridal bouquet should be made the day before or the day of the wedding. Choose flowers that match the colors of your wedding decor and your dress. Then, assemble them, making sure to remove the leaves from the part of the stem that will be the handle. Remember to cross the stems in the same direction to create a half-sphere shape for the bouquet. Once that’s done, tie the stems together with string. Then, trim the stems, leaving enough length for the handle (about 4 inches), around which you will wrap a ribbon and secure it with a pin. This is how to create a simple yet beautiful bridal bouquet!
Want to know more details? Keep reading to discover:
- Why the round bouquet is the easiest to make yourself
- A list of supplies and tools needed for this DIY project
- The step-by-step process for creating your bouquet, step by step
- How to preserve it until the wedding
- Additional tutorials for creating your own wedding floral decorations
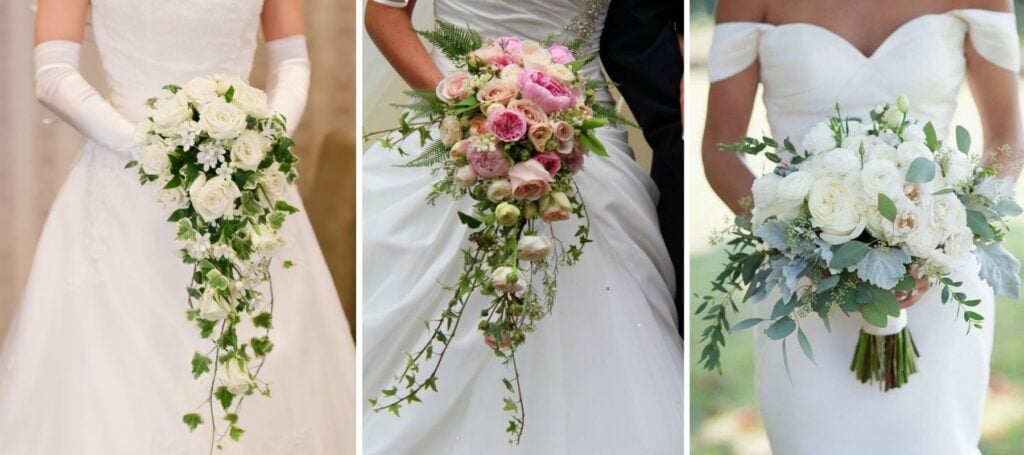
Round Bouquet or Cascading Bouquet?
The technique I’m sharing with you today is for creating a round bouquet. This is actually the quickest and easiest bouquet to make, as it doesn’t require a lot of technical skills. It’s also very trendy, especially when it’s made in a more relaxed style, allowing flowers and foliage to overflow on the sides.

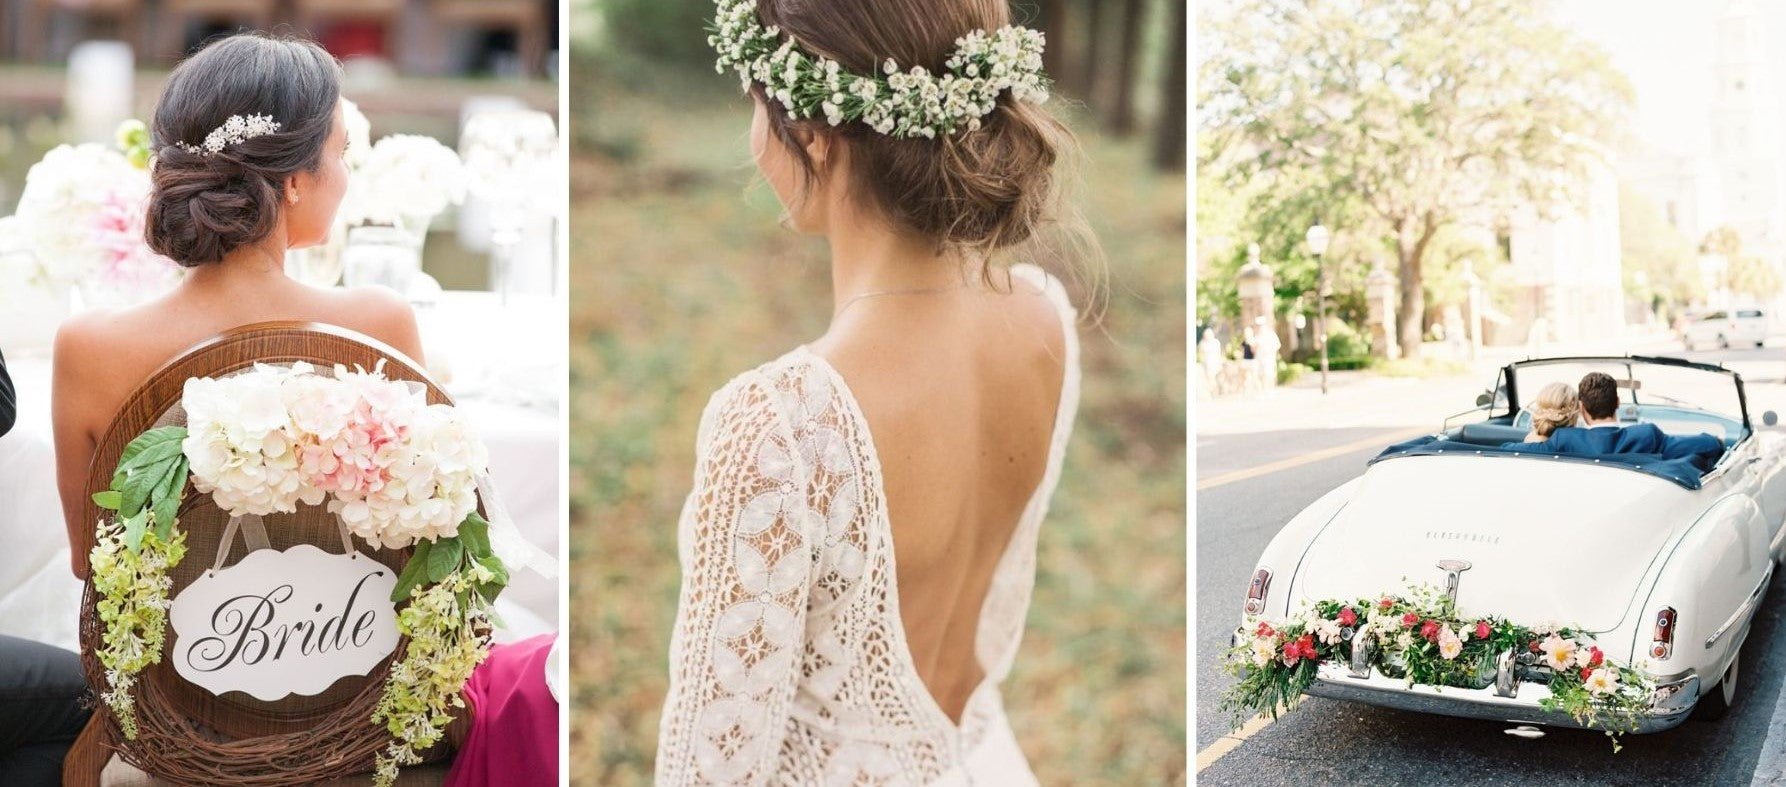
Trailing wedding bouquet (on the left and in the center) / Round bouquet (on the right)
However, you may also want to have what is called a drop bouquet or cascading bouquet for your wedding. In this type of floral arrangement, the flowers and foliage are designed to drape down, enhancing your silhouette. However, these bouquets are more complex to create and often more expensive when made by a florist.
👉 Are you looking for a detailed guide on the different types of bridal bouquets to find the one that best fits your style? Join me in this blog post, where I’ll explain how to match your bouquet with your dress!
What Supplies Do You Need to Create a Bridal Bouquet?
To make it as easy as possible for you, I’ve put together a small list of supplies organized by type, so you can ensure you have everything you need before starting to create your bouquet.
Tools
To trim plants, you will need the following tools:
- Pruning shears
- Sharp knife (like a paring knife)
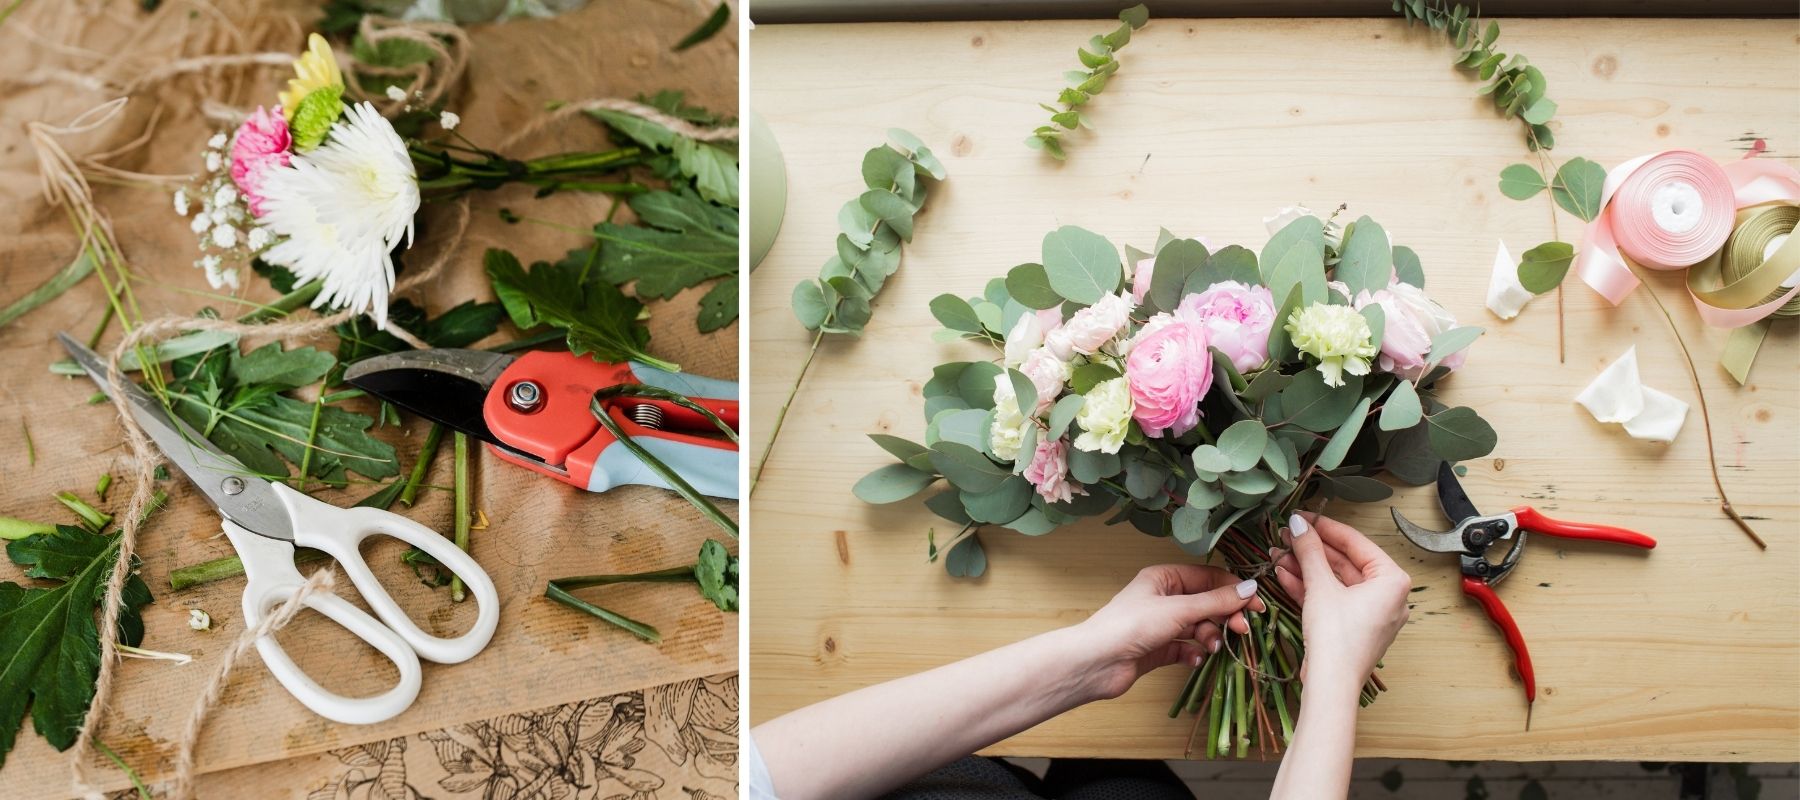
Links and Finishes
To secure the flowers and foliage so that the bouquet holds together, gather the following supplies:
- A ribbon that matches your flowers and dress
- Pins
- Glue (optional)
- String or thin, waterproof tape (like electrical tape)
Optional: Adding Decorations to Your Bouquet
Finally, if you want to personalize your bouquet with some decorations, you might consider the following:
- Pins with a pearlescent head to decorate the hearts of roses
- Feathers
- Small decorative accents attached to a stick (using discreet tape or wire)
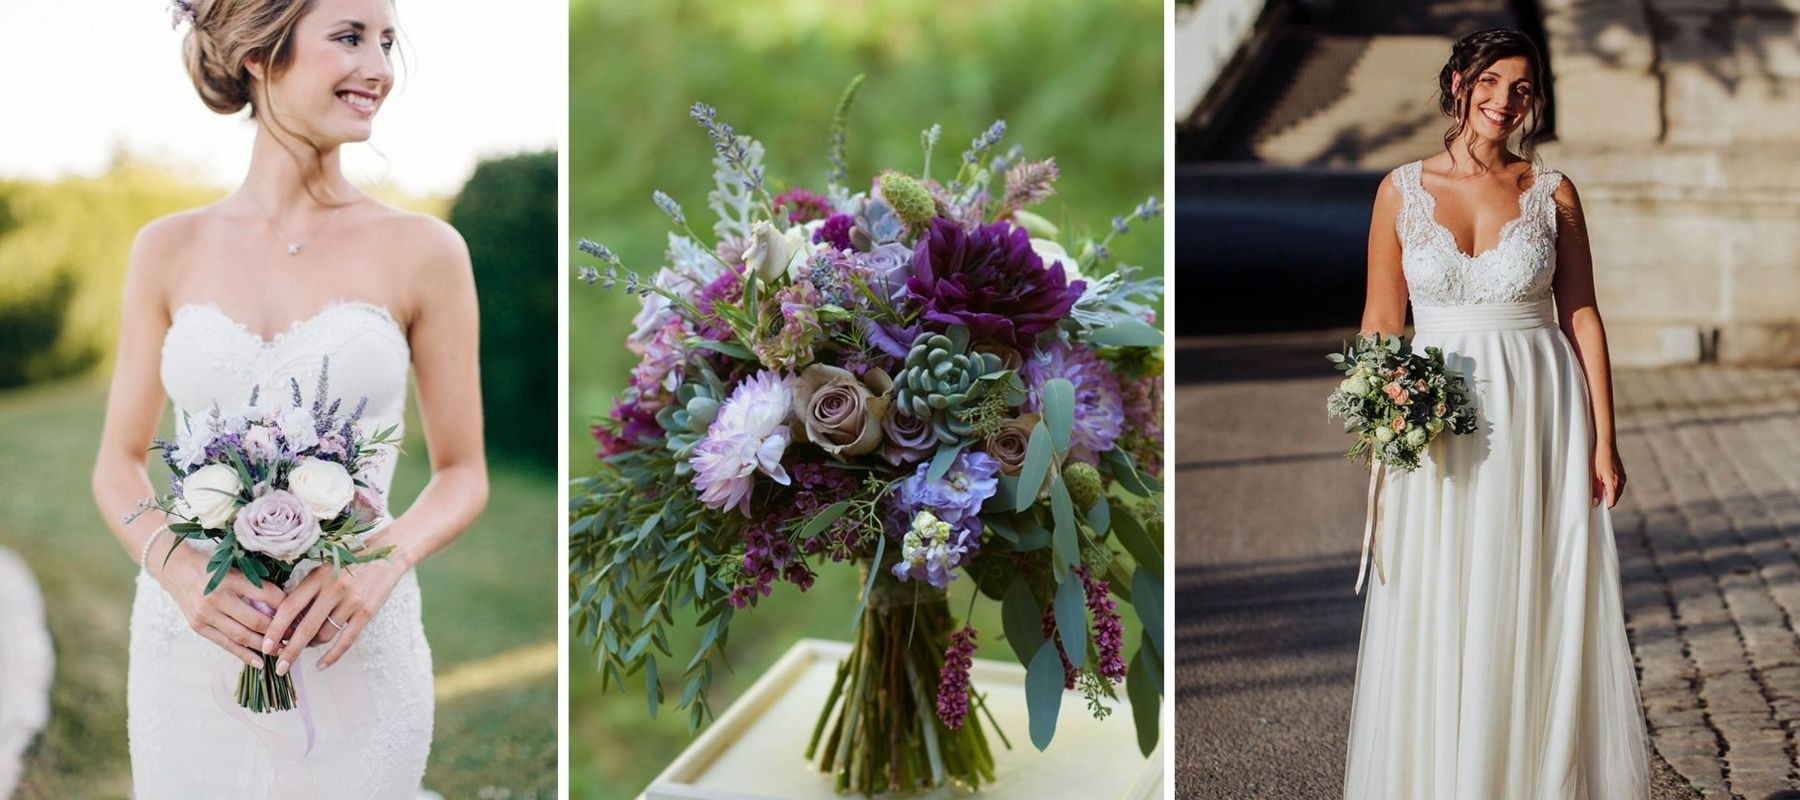
Which Flowers to Choose for This?
As I mentioned in the opening lines of this article, the bridal bouquet is typically the starting point for the floral arrangements throughout the wedding. The flowers you choose for the bouquet can also guide the selection of flowers used in other aspects of the wedding.
- about accessories: head wreath, boutonniere, bridesmaid bracelets… ,
- about decorative arrangements: altar decor, church pew bouquets, table centerpieces, decorative arch, car decor…
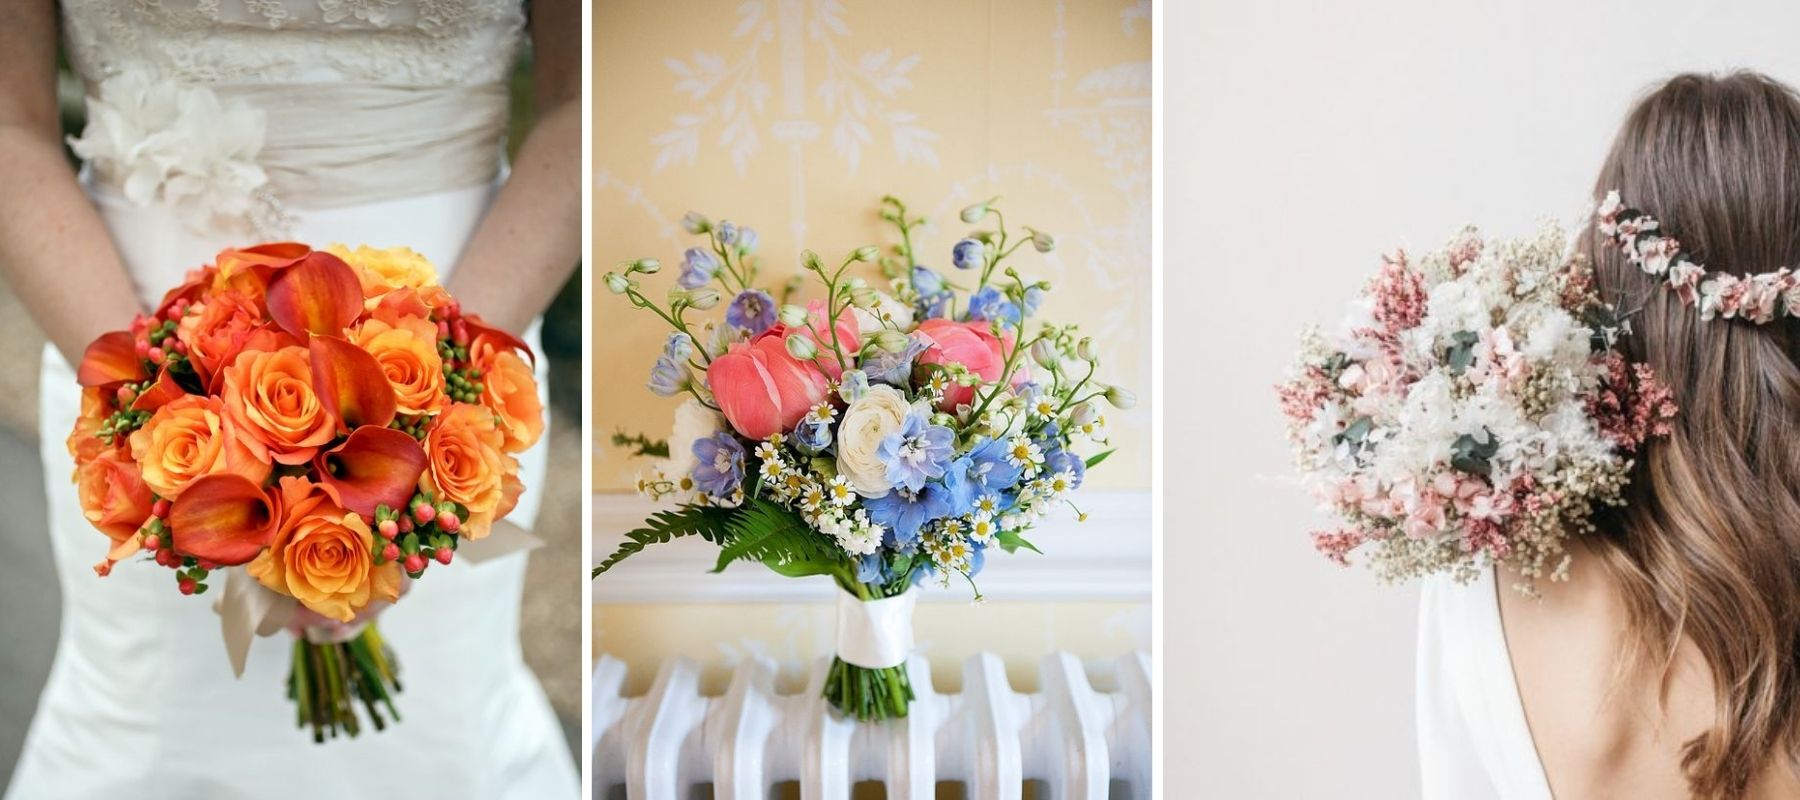
I recommend choosing flowers:
- whose colors harmonize with the event setting and your overall decor,
- that you like and that reflect your style,
- that you can be confident will be available this season (no tulips in summer or peonies in winter…)
- that are suited to your wedding theme such as:
- Small blossoms and dried flowers fit well with bohemian and rustic trends,
- Exotic flowers are perfect for a tropical chic-inspired wedding,
- Roses, peonies, and other statement flowers are ideal for a vintage or romantic chic wedding…
👉 Are you looking for a detailed guide on how to choose the flowers for your bouquet? With practical and easy-to-follow expert tips? I invite you to check out our article dedicated to this topic, which will make selecting flowers for your ceremony a breeze! 😉
🌻 Are you looking for a bohemian bouquet? If so, you can check out this article from our blog that will help you find the perfect flowers for a bohemian wedding bouquet!
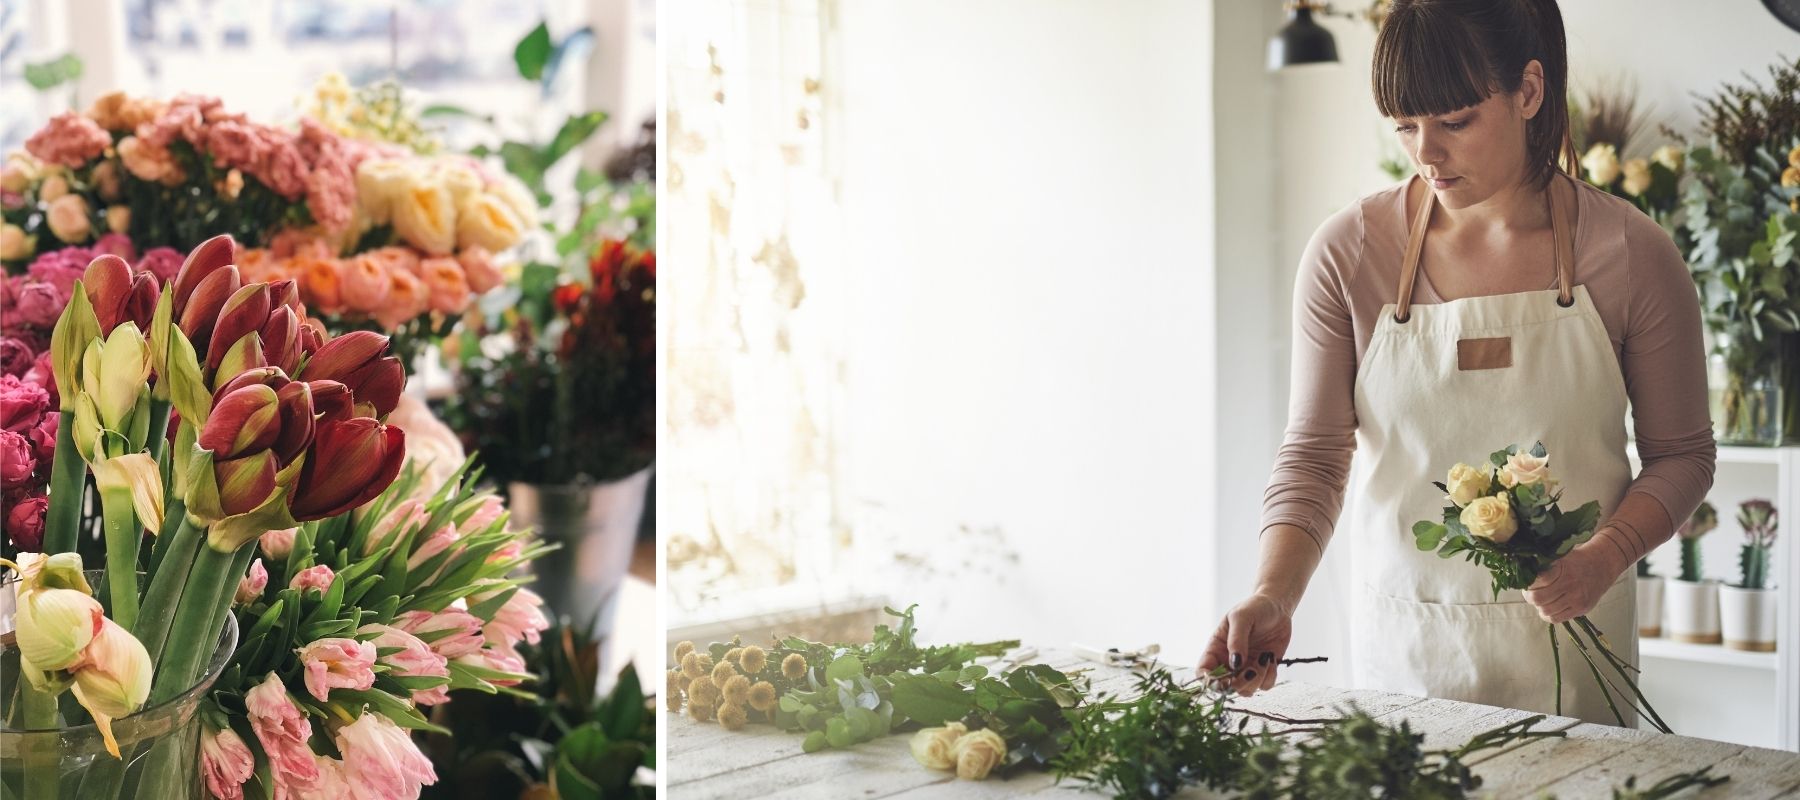
How to Create a Bridal Bouquet? A Step-by-Step Tutorial.
It’s time to take action! To create your bridal bouquet, you can draw inspiration from the technique shown in this video:
I will also walk you through the steps one by one in the following lines, making everything as simple as possible for you.
Step 1: Clear Your Workspace and Gather Your Tools
To begin, it’s important to work on a clean and dry workspace. Indeed, if the flower petals come into contact with moisture, they could start to rot within just a few hours.
I also recommend placing your tools and supplies in front of you, within easy reach, so you don’t risk damaging your bouquet by searching for them while you’re handling it.
Step 2: Prepare Your Plants
Before you start arranging your flowers, you need to prepare your plants. To do this, it’s important to remove the leaves and thorns from the bottom two-thirds of the stem: you can use a small paring knife to make this quick and easy.
Removing the leaves will allow for:
- to avoid getting pricked by thorns,
- to easily secure the bouquet,
- to ensure the foliage does not wither.
Step 3: Assemble Your Flowers and Foliage to Create the Bouquet
Once you have everything you need ready, you can start creating your bouquet by taking a flower in your left hand, then another one, with the blossom facing left, crossing the stems. Next, add one or two stems of foliage, and continue alternating your plants.
Consider turning the bouquet a quarter turn in your hands, then add more flowers by crossing the stems in the same direction. Continue to build the bouquet using this technique.
While you do this, check that the bouquet has a dome shape by looking at it from above. If necessary, you can adjust any stems or flowers that stand out too much from the bouquet.
You can finish off your bouquet by surrounding it with a foliage wreath.
👉 These tips are primarily geared towards right-handed individuals. If you’re left-handed, the opposite should be easier for you!
🎀 If you want to add some decorations, you can attach feathers, beads, or other embellishments to skewers and arrange them like flowers in the bouquet.

Step 4: Tie Your Bouquet and Trim the Stems
Once you are satisfied with your bouquet, you can secure it with string or waterproof tape. Make a neat tie by wrapping it around the stems several times. Then, to cut the stems to the correct length, make sure to leave at least the length of a fist and a half of stem (about 4 inches) for the handle.
Step 5: Complete the Finishing Touches on the Handle
Once the bouquet is securely tied, you can finish it off. For this, cut a long piece of ribbon (at least 20 inches) that you will wrap around the stems starting from the top, making sure to wrap it tightly.
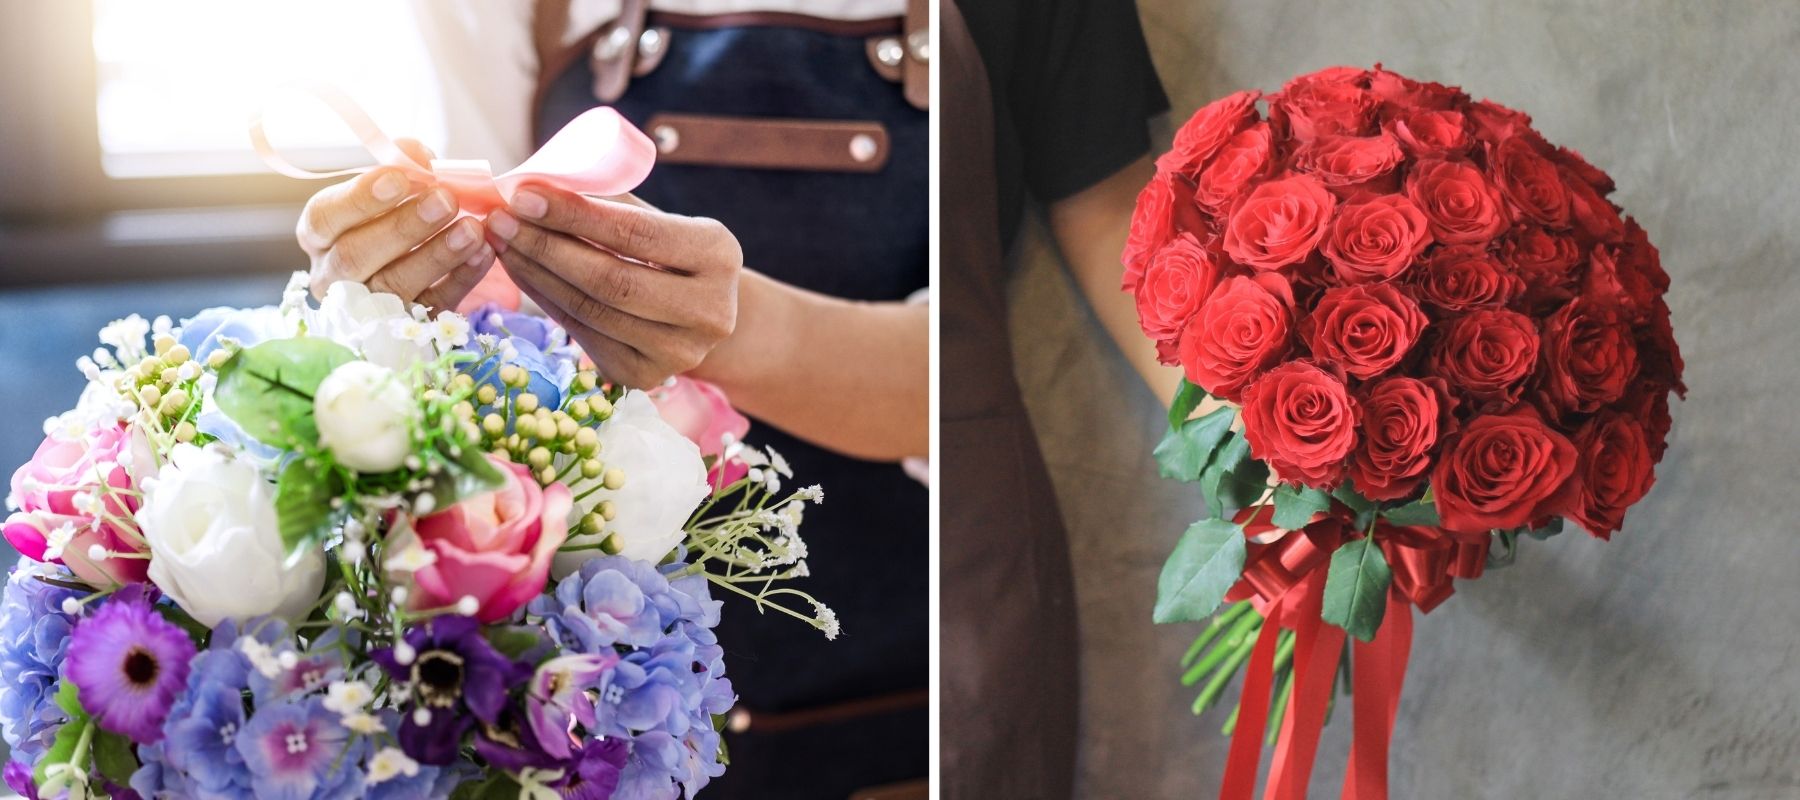
Make sure to leave two centimeters of stems protruding at the bottom, then secure everything with pins, being careful that they don’t stick out to avoid injuries while holding the bouquet. You can also use glue to reinforce this attachment. Your bouquet is complete!
How to Preserve My Bouquet Until the Wedding?
If you want to create your own bouquet or make one for someone close to you, you should set aside time the evening before or the day of the wedding to assemble it. Indeed, a bridal bouquet is a delicate creation, designed to be enjoyed in the moment rather than to last forever.
To keep it fresh after assembling, I suggest placing the two centimeters of stems you left sticking out into cool water, in a vase or the bottom of a cut water bottle, for example. Place your bouquet away from direct sunlight and any heat sources (like radiators, stoves, etc.).
Check Out Our Other Floral Decoration Tutorials for Your Wedding!
Would you like to save some money and create your own wedding decorations? In this final section, I’ve put together a handy selection of our wedding DIY tutorial articles.
Click on the links to learn how to:
- A boutonniere for the groom or the best men,
- A floral bracelet for the bridesmaids,
- The decoration of a wedding cake or a tiered cake,
- Place cards and table numbers Learn more here
- The decoration of a car with ribbons
You now have everything you need to create a stunning bridal bouquet yourself, and why not, other floral arrangements to decorate your wedding!
To complement your bouquet and enhance your look, I invite you to explore our bohemian flower crowns, perfect for wearing at a wedding, civil ceremony, baptism, or any festive occasion.
