Are you interested in creating a flower press? Are you wondering when to collect the plants for such a project? How to dry them?
I will help you.
As a florist, I am interested in all the techniques available to transform and preserve flowers, so that they can become beautiful decorative objects and help us keep reminders of the wonderful moments in our lives.
Today, I invite you to learn how to create a herbarium with flowers (and leaves!), so you can make a memory book, a floral frame, or even an activity notebook for kids…
The first step is foraging in nature: it should be done on a nice day, and with respect for biodiversity! Next, to ensure optimal drying, make sure to gather non-wet plants and place them immediately after collecting under pressure. Absorbent paper is ideal for separating layers of flowers in the press, as it absorbs moisture without damaging them. After about ten days of drying, your flowers will be ready to be glued into your herbarium!
Want to learn more? Keep reading to discover:
- What an herbarium is and how making one can benefit you
- When and how to collect your plants
- How to dry your flowers so they don’t get damaged and retain their color
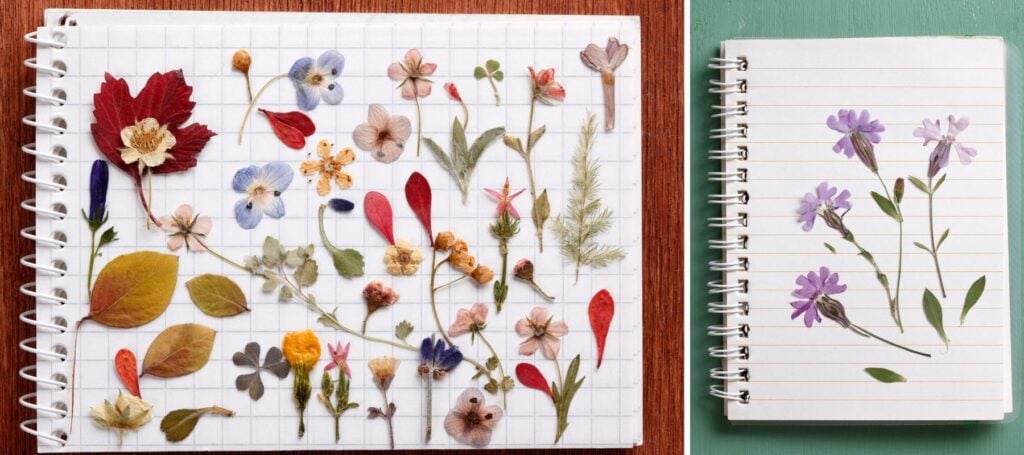
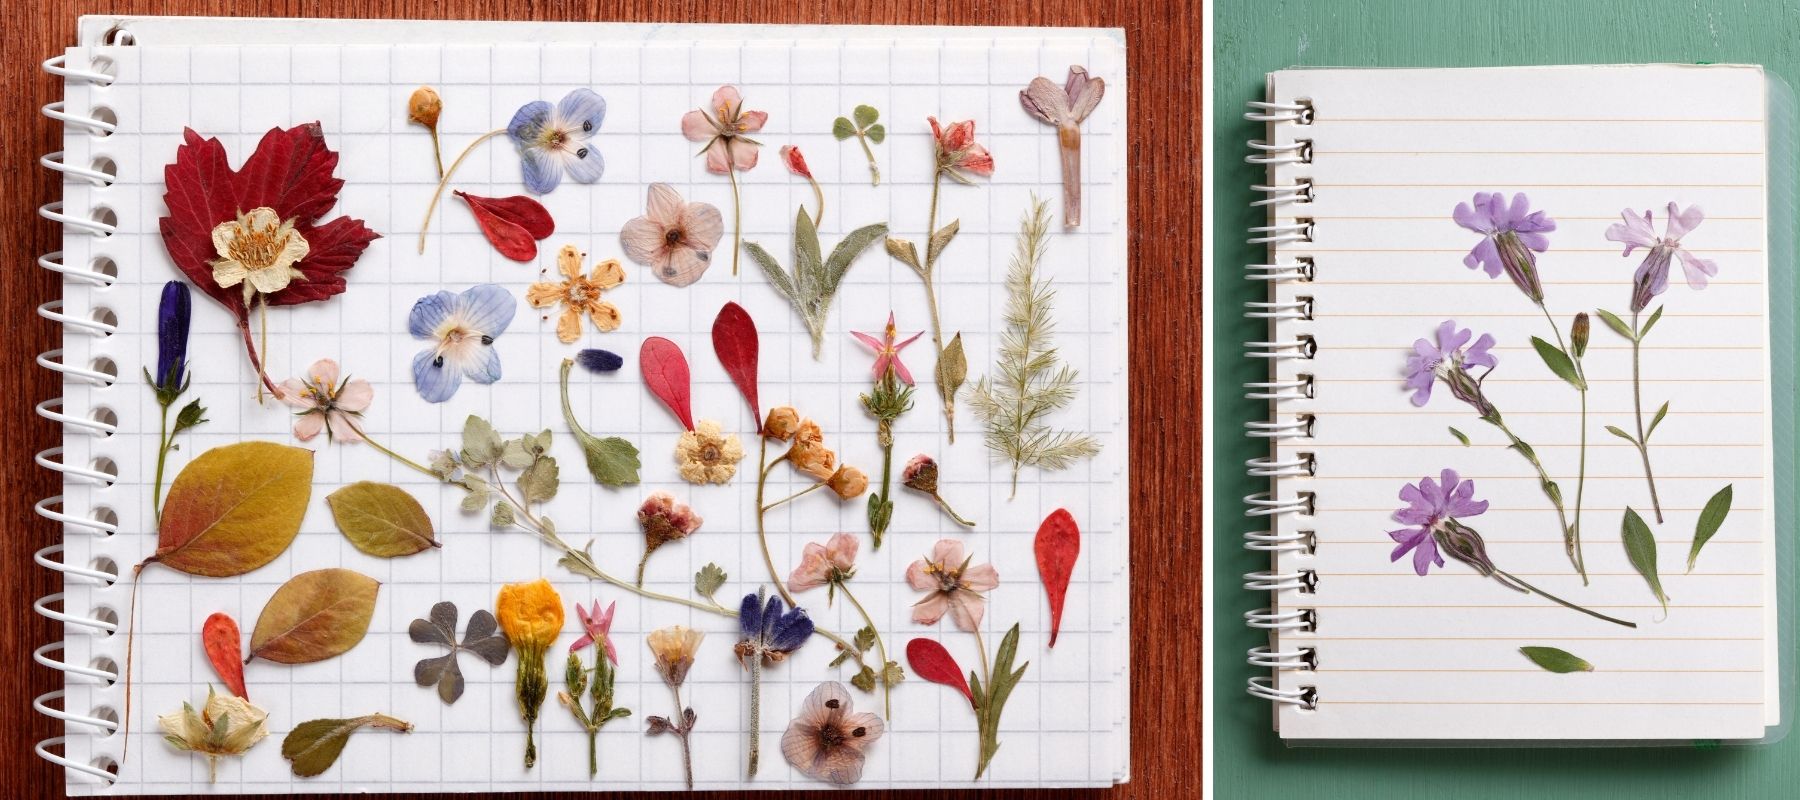
- Creative ideas for displaying your dried flowers flat in an herbarium
Bohemian Creative Trend: Discover Floral Herbariums!
Do you remember when you were a child, collecting beautiful autumn leaves and pressing them between two big books, only to later glue them into a notebook? Today, we’re going to revisit this relaxing and creative activity by learning how to create a bohemian flower press.
What is a herbarium?
A herbarium is not just a notebook of dried plants! This term actually refers to a collection of plant specimens that have been pressed and dried. Its primary purpose is scientific. Indeed, these materials are used to study and classify plants:
- based on their geographic origin,
- according to their shape and colors,
- to highlight their annual rhythms (flowering, hibernation),
- to monitor the effects of weather and diseases on plants…
However, creating herbariums is also a highly regarded hobby for those who love nature. This activity has the advantage of being very comprehensive. In fact, it involves not only foraging in the wild but also researching plants, the skills associated with drying them, and the creative techniques used later to showcase the vegetation.

Why Create a Flower Press?
Creating herbariums is a hobby that’s making a comeback with the rise of dried flowers and the growing interest in plants and nature among many people. This activity offers numerous benefits:
- It can be practiced both in the countryside and in the city,
- You don’t need a lot of supplies,
- Drying flowers doesn’t take up much space in your home,
- You can create a scrapbook with children,
- You’ll learn the names of many plants,
- You can let your creativity shine when showcasing your dried flowers,
- Your scrapbooks can become keepsakes, collections of curiosities, or even gifts for loved ones.

Interested in creating a herbarium? Get started with the tips and tricks I’ll share in the following lines!
The Technique for Drying Flowers for a Herbarium
The first step in creating a herbarium is, of course, collecting plants, especially flowers if you’re building a floral collection. Here are some tips to get you started!
When Should You Plan Your Harvest?
When creating a flower scrapbook, spring and summer are the best seasons to gather specimens. However, you can also find beautiful examples in the fall and even in winter.

To prevent dew moisture from lingering and potentially affecting the drying of your flowers, I recommend harvesting them between late morning and late afternoon on a sunny day.
What can we harvest?
As you probably know, there are many plant species that are protected. To help maintain the balance of our ecosystem, I recommend following these simple guidelines:
- Do not pick isolated flowers or plants that have fewer than five specimens,
- Bring along a field guide or the collaborative PlantNet app (available on Android and the App Store) to identify flowers before picking them, ensuring they are not extremely rare, toxic, or protected,
- Of course, do not collect flowers from private gardens, as this may upset the gardener!

👉 Once you’ve picked the plant, along with its stem and a few leaves, place it directly between two sheets of absorbent paper, in a folder or a sturdy book.
How to Lay Flowers Flat to Dry?
To ensure the best possible drying for your flowers, I recommend pressing your plants as soon as you get back from your walk.
Step 1: Prepare a Drying Kit
To ensure optimal preservation of textures and colors, you will need to have a pressing system in place beforehand, which can be:
➡️ This is a press designed for this purpose, featuring two plates connected by threaded rods with nuts (which will allow you to tighten them).
➡️ This is a binding press, which will also be perfect for applying pressure to your plants,
➡️ Or, if you don’t have either of the previous two options, two large, sturdy books or two boards will also work.
Step 2: Arrange Your Plants for Drying
To get started, place a sturdy surface (like a book or a board) on your table, and then lay down at least three sheets of blotting paper on top. Next, you can position your first flower on the blotting paper, or several flowers if there’s enough space.
Make sure not to stack the plants directly against each other: each layer should be separated by one to three sheets of blotting paper, depending on the thickness of the chosen plants. Continue stacking this way, making sure not to exceed five layers.
👉 If you have too many plants, consider making multiple presses instead. This will help you avoid damaging them during the drying process.
Step 3: Apply Pressure
Once you have created your various layers of vegetation, place three blotting papers back on the surface and apply pressure using:
- one or several heavy books,
- nuts if the press is equipped with them,
- or possibly a tightening screw.
The pressure needed to effectively dry plants is several kilograms. Don’t hesitate to add some weight!
👉 Next, place your press in the driest room of your home to provide your flowers with the optimal conditions for drying.

Step 4: Let It Breathe
During the first three days, you’ll need to open your press once a day to check the condition of the paper and air it out for about an hour.
Then, put everything back together as explained earlier.
Step 5: Open the press to see the finished result!
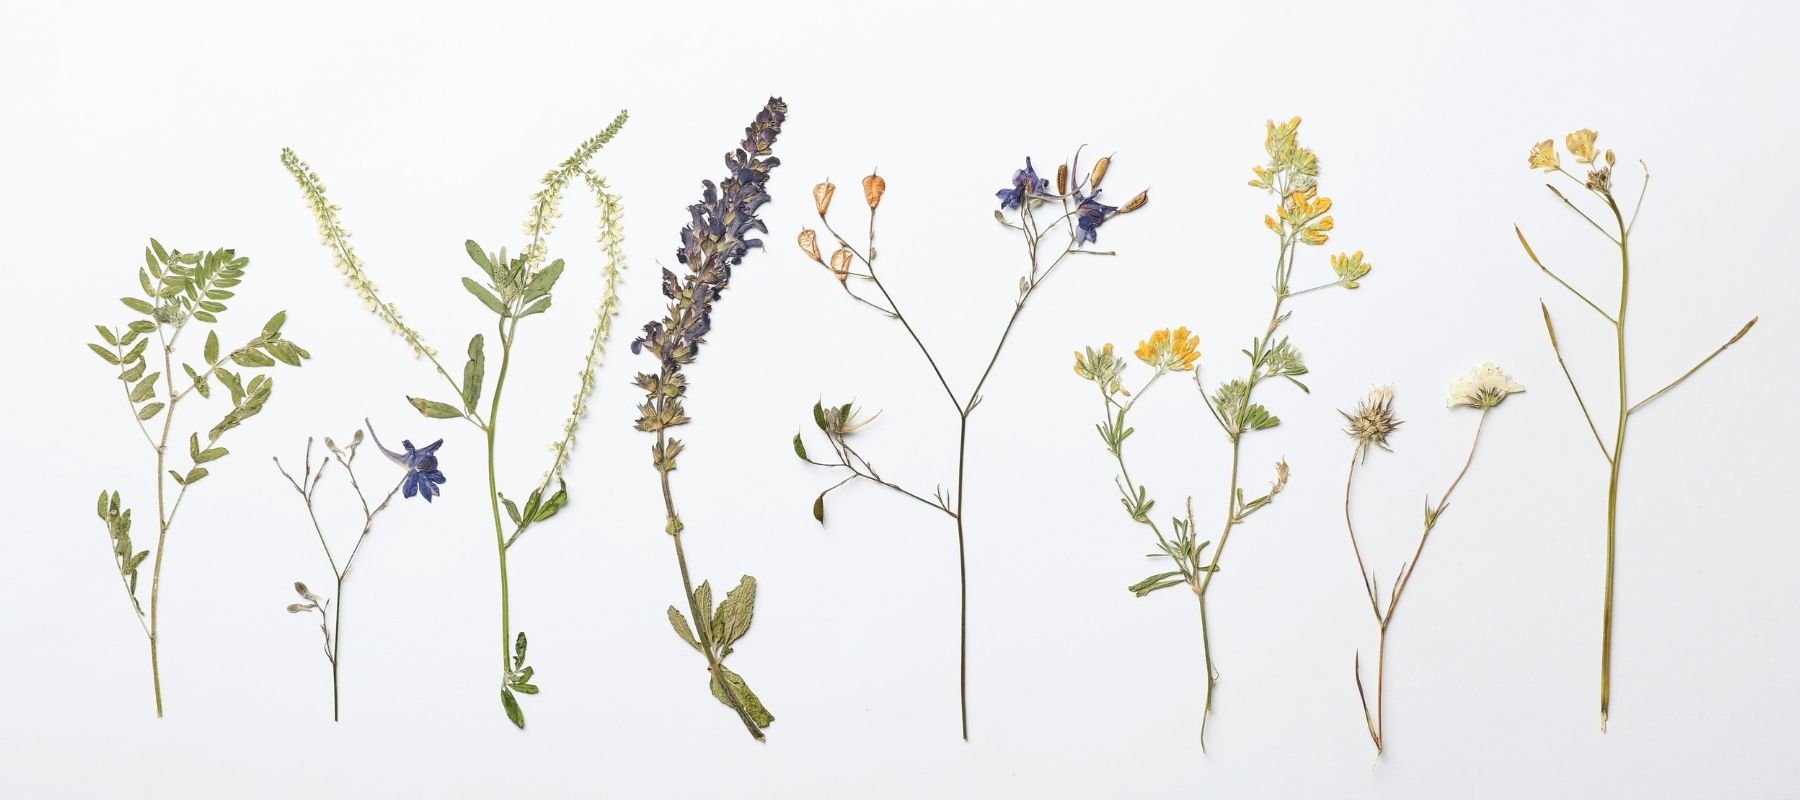
After about twelve days, you will finally be able to see the result of your work. To do this, gently open the press and carefully separate the sheets of blotting paper.
If you want to collect plants to move them (such as pressing them into a notebook or onto any other surface), you can use precision tweezers to avoid damaging them.
And there you have it, the drying is complete! All that’s left to do is put together your herbarium!
👉 The video below provides an alternative to using blotting paper, which involves drying your plants between paper towels. This technique works well for flowers with thick, sturdy petals. However, if you want to preserve delicate and thin flowers for a long time, I recommend sticking with the blotting paper method, which has proven to be effective.
And what about the leaves?
Most of the time, leaves, especially tree leaves, are easier to dry than flowers. They are tougher and more structured due to their veins, which means they tend to tear less easily. So, if you’re working with kids or trying this for the first time, you can attempt to dry leaves using the technique mentioned earlier.

How to Present Your Herbarium?
Once your plants have finished drying, all that’s left is to choose how to showcase them. Here are a few ideas to inspire you. 😉
Choosing the Right Platform!
Your dried flowers are a fantastic creative material for making:
- A botanical notebook,
- A floral frame,
- A poster,
➡ Warning: Prolonged exposure to light can fade the color of your flowers in just a few months.
- A resin-embedded jewelry piece,
- Candles adorned with dried flowers…

There are surely plenty of other original and creative ideas to create with flat dried flowers: don’t hesitate to try anything that inspires you!
Should Flowers Be Classified?
If you prefer, your flowers can be arranged like a genuine scientific herbarium or in a more creative way, for example:
- By color,
- Depending on who picked them,
- Based on where they come from,
- To create patterns similar to a Liberty fabric…
How to Fix Them?
To hook them, it’s as easy as pie!
➡️ If the flower has a stem, you can use some pretty masking tape,
➡️ If you’re working with a stemless flower or prefer that the attachment isn’t visible, you can gently apply a thin layer of liquid glue directly onto the surface using a brush.
👉 Remember to leave space to record their name, the date, and the location of the collection, etc. This information will help make your herbarium a collection of great memories!

I hope this article has given you plenty of ideas for creating herbariums and decorative items with dried flowers.
If you’re interested in this topic, I invite you to explore our flower walls, which will help you create a unique and floral decoration for a room in your home or for an event. I’ve selected a small sample from our collection:
- A powder pink and white flower wall, exuding femininity,
- A pure white wall for events like a wedding,
- A dark wall to add character to a gray wall,