
Are you planning a rustic wedding that you want to decorate yourself? Do you want to learn how to create beautiful country-style centerpieces?
I will help you.
For the past few years, I have made event planning a central part of my daily life as a florist. As a result, I frequently find myself creating floral decorations for occasions such as weddings, christenings, and corporate conferences.
Today, I’m bringing you a tutorial that will teach you how to create a rustic centerpiece for a special event or family gathering.
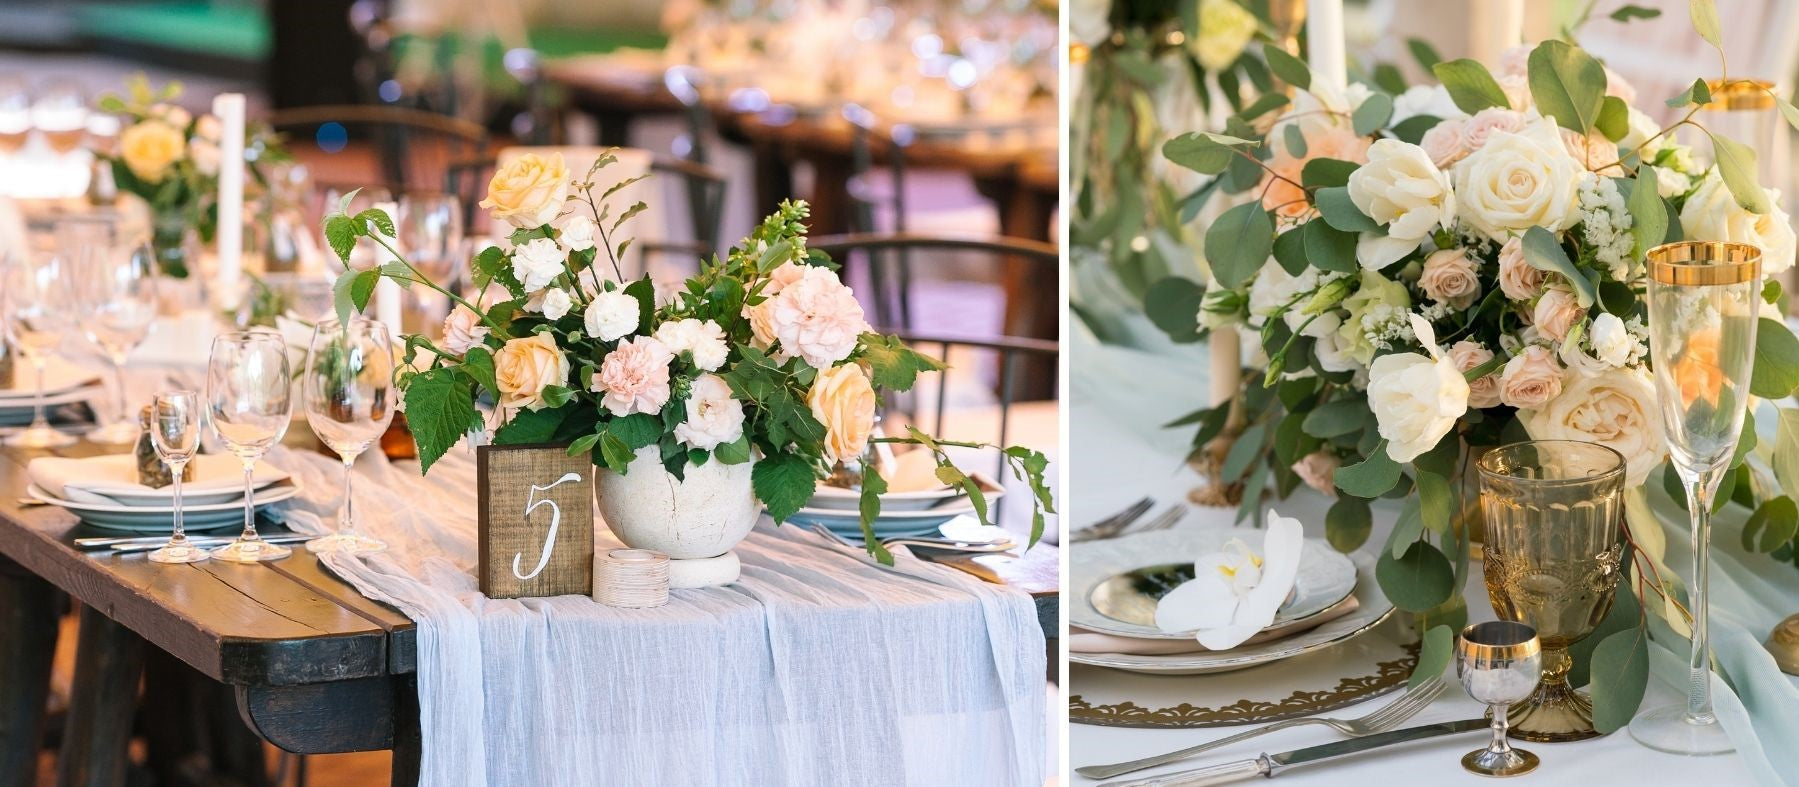
Table arrangements are quite simple to create: they shouldn’t be too tall or overwhelming, as they need to leave space for dishes and allow for conversations among your guests. Once you find an appropriate container, place floral foam soaked in water inside, making sure to isolate it with a layer of plastic to avoid wetting your table or the container. Next, insert your foliage, always directing the stems toward a central point located in the middle of the foam. After that, you can add the flowers, starting with the larger ones near the foam and finishing with the lighter flowers and fine-stemmed grasses. You can give your arrangement height and volume by arranging it freely to mimic a field of flowers.
Want more details? Keep reading to discover:
- The main criteria to follow for a successful table setting
- A selection of flowers and greenery in a rustic style
- A list of supplies you’ll need to create your arrangement
- A video tutorial and a detailed step-by-step guide with professional tips for creating your centerpiece
Essential Information to Know for Creating Your Table Décor
When planning a wedding, it’s important to arrange the decoration of the reception venue in advance.
There are many decor trends today that you can use for inspiration to personalize your space and design it to reflect your personality.
In this article, I will help you create your own rustic table decorations, particularly the arrangements that you will place on them.
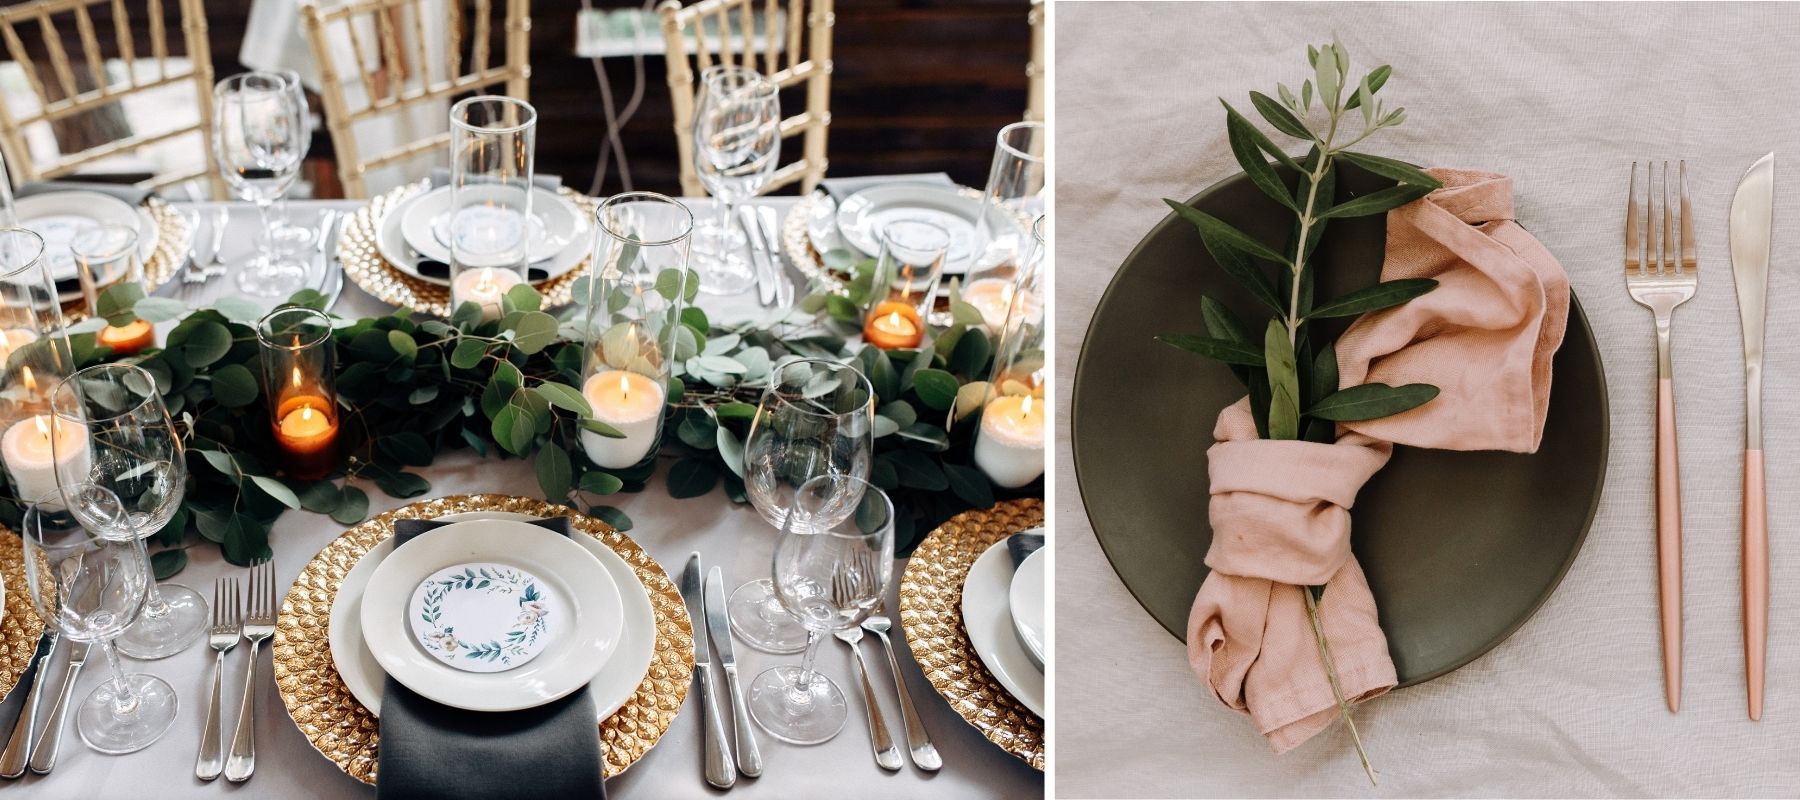
What is a table setting?
For all events, the centerpiece is an essential flower decoration element. It sets the tone for the trends and colors throughout the entire room. As the name suggests, it is usually placed in the middle of the table.
Place cards, buffet arrangements, or wall decorations are then created, respecting the style and colors chosen for the centerpiece.
This decorative set should be cohesive and harmonious to ensure that your decor is a delightful surprise for your guests.
What are the main criteria to follow for its implementation?
As with any decoration creation, it’s essential to consider a few elements so that your centerpiece fits seamlessly into your decor and enhances your venue without being a distraction for your guests.

Here are the key points to consider:
- If you plan to place it in the center of the table, make sure not to create an arrangement that is too tall, so that the people sitting at the table can see each other and communicate during the meal. I recommend keeping it to a maximum height of about 8 inches.
- Choose low-odor flowers that won’t interfere with your guests’ appetites. Lilies, for example, have a strong fragrance and are best avoided as a centerpiece on the dining table.
- If the container where you will create your arrangement is not decorative (like a plastic bowl, for example), make sure to completely cover it so that the overall look is appealing. You can use gathered moss or glue decorative elements made of wood or fabric using a hot glue gun.
Finally, consider adapting the volume and shape of your centerpiece to the size and shape of the table:
- For a rectangular or oval table, opt for an elongated centerpiece
- For a round or square table, choose a rounded centerpiece instead
What equipment is needed for this type of composition?
Creating a centerpiece requires some specific materials, which are quite easy to find at a garden center, a craft store, a florist, or even online on the Internet.
In the following lines, you will find a short list of items to prepare.
A Pruner and/or a Multi-Cutter
These tools are useful for trimming plant stems to the appropriate length for your arrangement.
A Fine-Edged, Smooth Knife
Ideally, choose a paring knife: these are the knives used by florists. If that’s not an option, a simple, well-sharpened kitchen knife without serrations will also work well for cutting the fine stems of plants and moss.
From Water-Absorbing Floral Foam
This floral foam is essential for creating arrangements with stems inserted. Once placed in this water-soaked foam, the flowers stay fresh just like they would in a vase.
You can find several shapes of foam available in stores: heart, cone, ball… but most of the time, it comes in a block that you can cut down to your desired size using a knife if you wish.
A Suitable Container
This is where you’ll place your foam to create your arrangement. Choose one that is matching with your decor if you want it to be visible.
When choosing your flowers, be sure to select a suitable amount for the size of your container to avoid running out or wasting any.
👉 Also consider using cellophane (or any other plastic wrap) to package your foam in the container to make it waterproof. If your container has holes, you might also want to use fabric or burlap to cover the foam.
What Plants Can You Use in a Rustic Centerpiece?
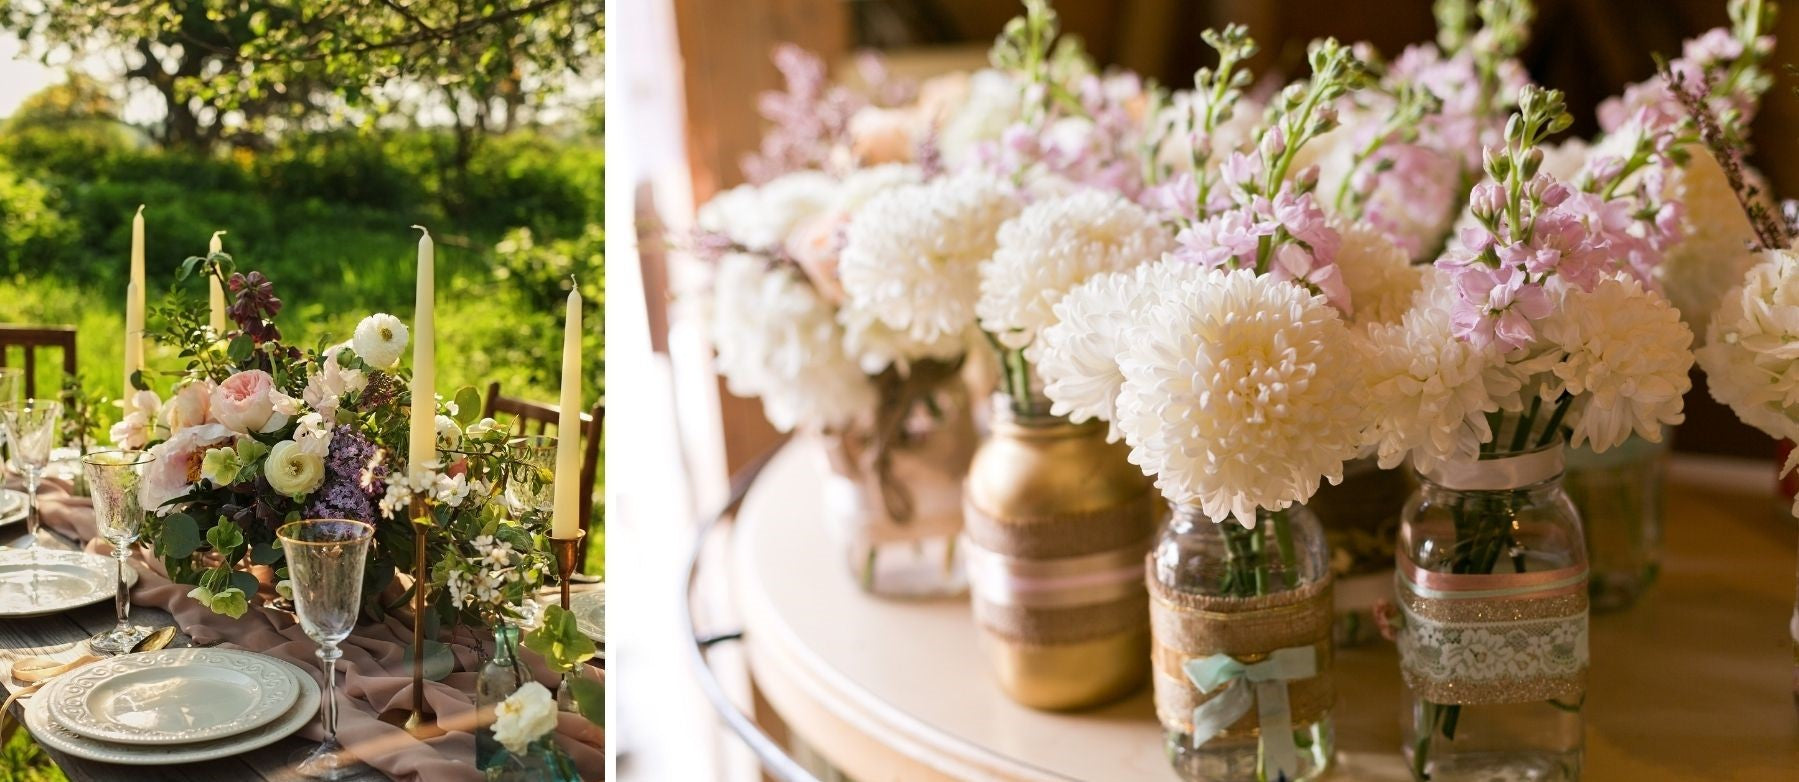
The rustic style aims to depict nature as it is, without forcing it or altering it too much.
Here are some tips for successfully giving your creation a pastoral vibe.
How to Create a Country-Style Arrangement?
To create a rustic centerpiece, I recommend envisioning a small patch of wild nature that you will try to replicate. To achieve this, there’s no need to overly align your plants or attempt to create geometric shapes.
Feel free to let fine flowers, herbs, or grasses spill over to add some movement to the overall look.
What Flowers to Consider?
You can choose flowers of various sizes and shapes. However, don’t forget to add a few small flowers to lighten the overall look.
When it comes to colors, opt for pastel shades like light pink, pale yellow, soft blue, light green, and beige, among others.
🛑 Whenever possible, avoid exotic flowers that don’t really fit the rustic style, especially when it comes to their appearance and vibrant colors.
Some flowers are especially suited for this pastoral atmosphere. They include:
- Alstroemeria (year-round)
- Thistle (year-round)
- Muscari (in spring)
- Achillea (from April to September)
- Cosmos (from June to September)
- Chamomile (spring, summer, fall)
- Gillyflower (from January to July)
- Bellflower (from March to July)
- Scabious (from June to October)
- Tulip (from December to April)
- Waxflower (from February to July)
- Veronica (year-round)
- Limonium (year-round)
- Nigella (from February to August)
- Goldenrod (year-round)
- Poppy (from March to May)
- Hydrangea (summer, fall)
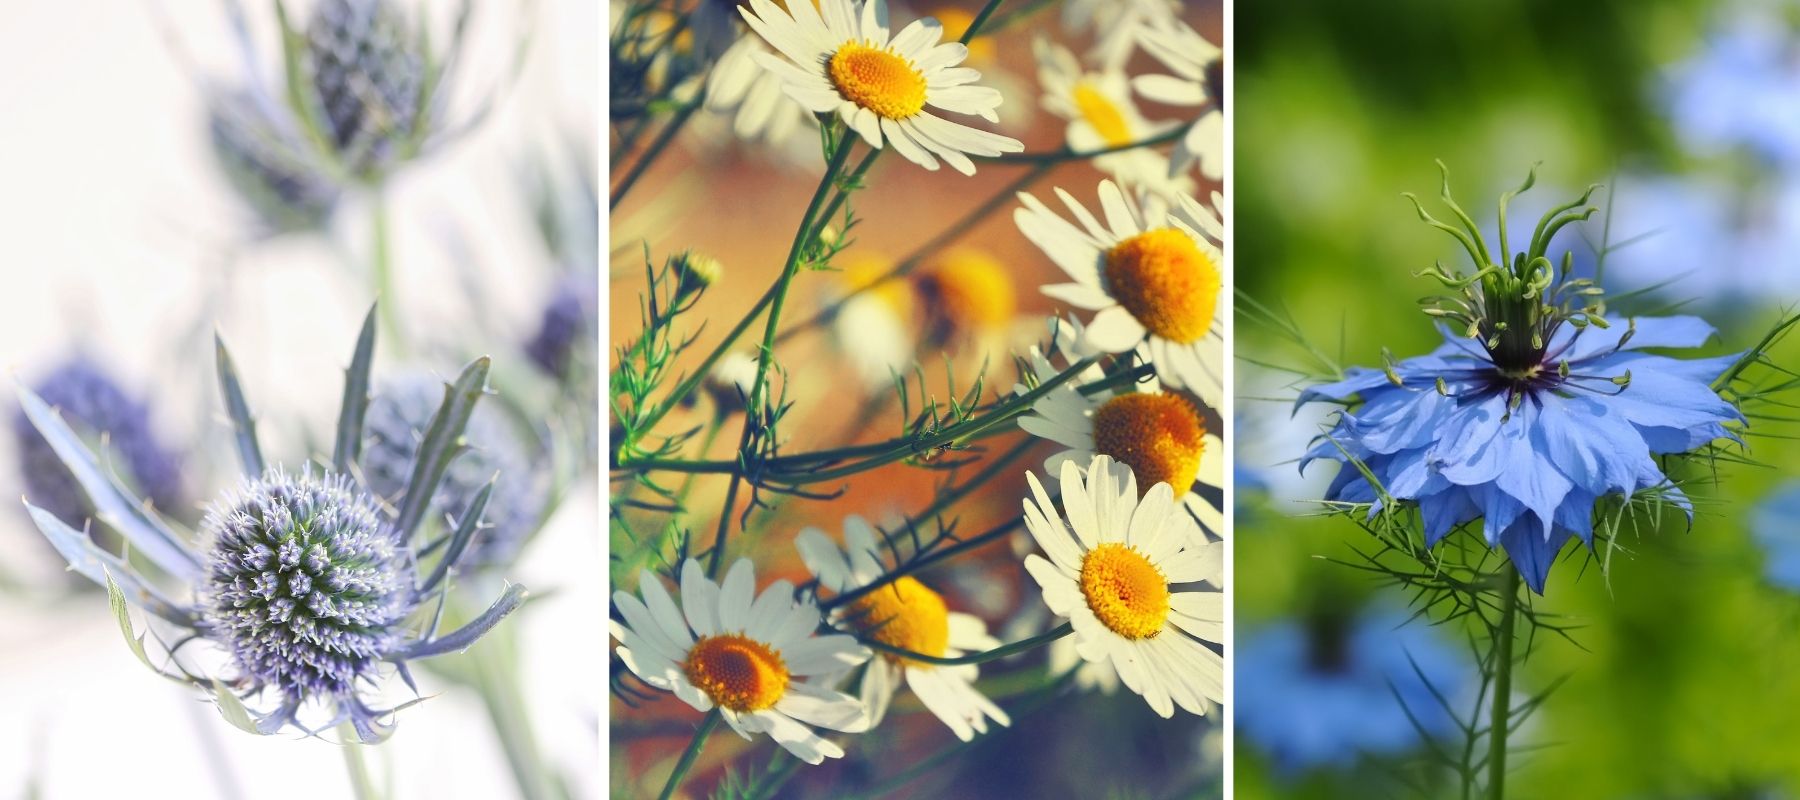
Thistle / Chamomile / Black Seed
This is certainly not a comprehensive list! Feel free to add other flowers, grasses, branches, or anything else you’ve gathered from nature.
When it comes to folliage, you can also add foraged plants in various colors. If you don’t have any, you can easily find Eucalyptus or Olive branches, which perfectly fit a rustic style.
👉 When creating centerpieces, you don’t need to choose flowers with long stems. You can mention this to your florist: in fact, flowers with short stems, like roses, are often less expensive.
How to Create a Centerpiece: Step-by-Step Tutorial
To create our centerpiece, we will rely on this video, which outlines the main steps for making a table centerpiece:
This section outlines the steps to follow and provides an example of how to create your arrangement. However, feel free to make it your own by crafting a composition that reflects your personal style, whether in terms of flowers, colors, or shape.
➡️ The creation you’ve made is a bit too tall to work as a centerpiece. If your goal is to create something to place between your guests, feel free to use a shorter container, or even a plate or a tray where you can place the water-retaining foam, which you can then cover with plants or forest moss.
Step 1: Prepare Your Container and Foam
First, you’ll need to prepare your floral foam.
To keep it well-hydrated, soak it the night before. Just place it in water, and it will absorb on its own.
Next, waterproof your container by lining it with cellophane or any other plastic-coated paper, along with fabric to cover the foam if you’d like. Trim any paper that extends beyond the edge of the container to achieve a neat appearance.
Finally, you can trim the moss with a knife if needed, especially if it extends more than about 2 centimeters above your container.
👉 If you want to create a round centerpiece, you can place two blocks of floral foam side by side on a plate and cut them to form a large circle.
Step 2: Add Greenery to Your Composition
In floral design, the term “greening” refers to the act of placing your foliage into the moss so that it is no longer visible. It is essential to fully green your arrangement before inserting the flower stems for three reasons:
- The foliage should completely cover the moss, which is much easier when you don’t have any flowers already placed,
- The greenery will help to support the flowers later on, keeping them upright,
- Finally, it’s these plants that will help you create the basic shape of your arrangement as well as its volume and height.
To complete this step, you’ll need to plant your stems all in the same direction, toward an imaginary point at the center of the moss, about 2 inches below the surface.
The thicker stems should be pushed in as far as possible to ensure they stay secure, while the thinner stems can be inserted only 1 to 1.5 inches deep.
To take a cutting, trim it diagonally to the right size and hold it as low as possible, bringing your fingers close to the moss gently to avoid breaking the plant.
Step 3: Arrange Your Flowers with a Rustic Touch
It’s finally time to arrange your flowers! Trim the stems at a diagonal to the desired length as you plant them.
⚠️ Don’t cut everything in advance, as this might hinder your ability to create your composition.
To maintain a rustic vibe, arrange your flowers in harmony at different heights. It’s also important to plant them towards the same focal point used for the greenery.
First, preferably pick the larger flowers that are relatively short, to allow the smaller flowers, herbs, and grasses to add a light touch to the arrangement from above.
Feel free to let the delicate flower stems and grasses stick out to add volume to the arrangement. Since these are fine plants, they won’t obstruct the guests during the meal, as they will be able to see through them.
To maintain a country feel, plant them fairly freely, creating a flower field effect!
👉 Don’t forget to rotate your arrangement as you plant your greenery, to ensure it looks beautiful and balanced from all angles.
You are now ready to create your own floral centerpieces for any event!
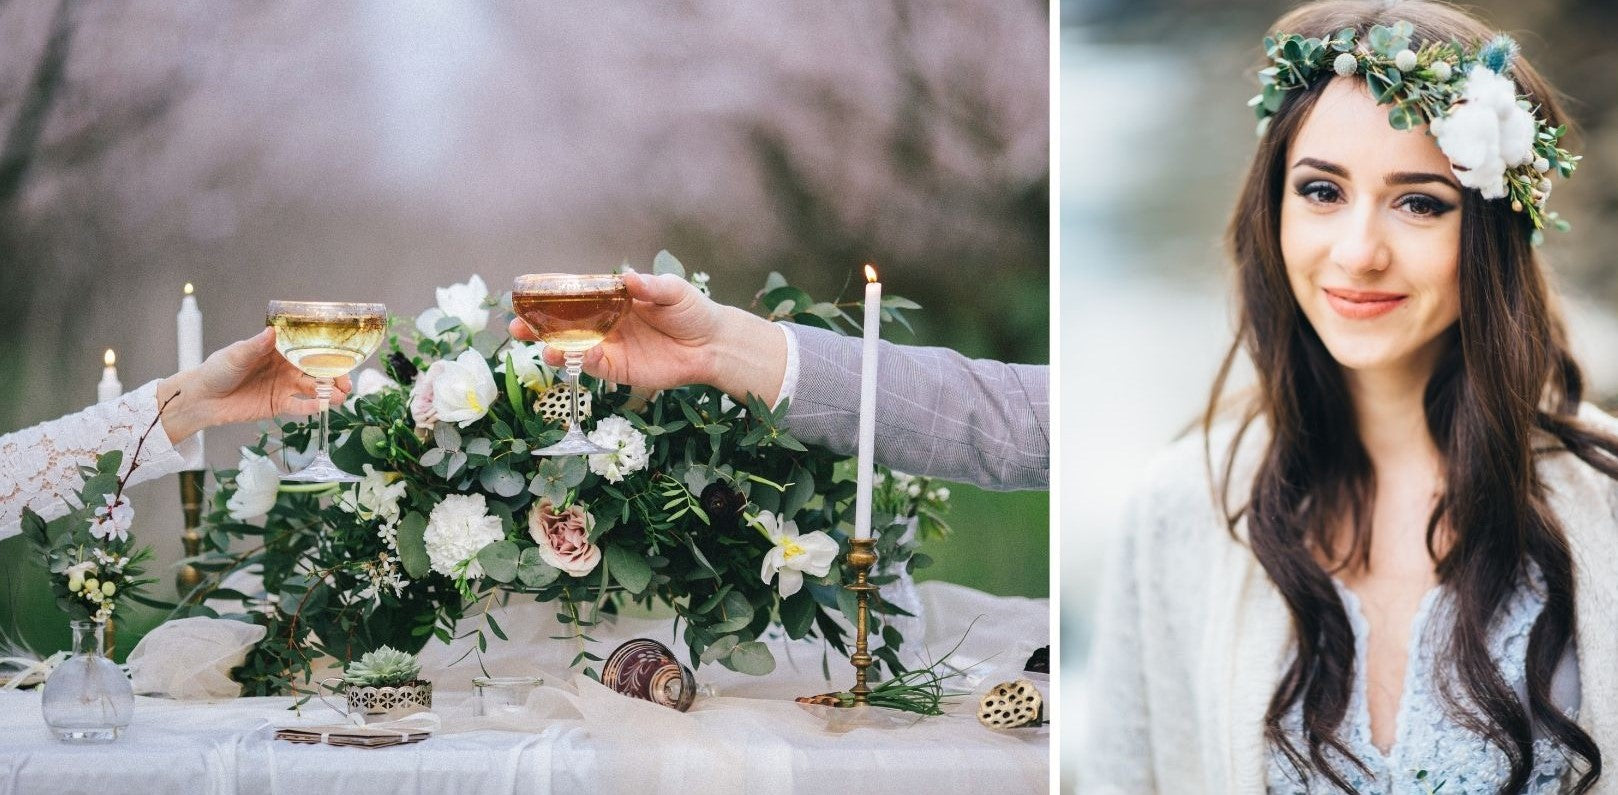
If you’d like, you can match these with other floral accessories, such as flower crowns or decorative creations, like floral walls or everlasting roses!
Feel free to check them out in our store!😉